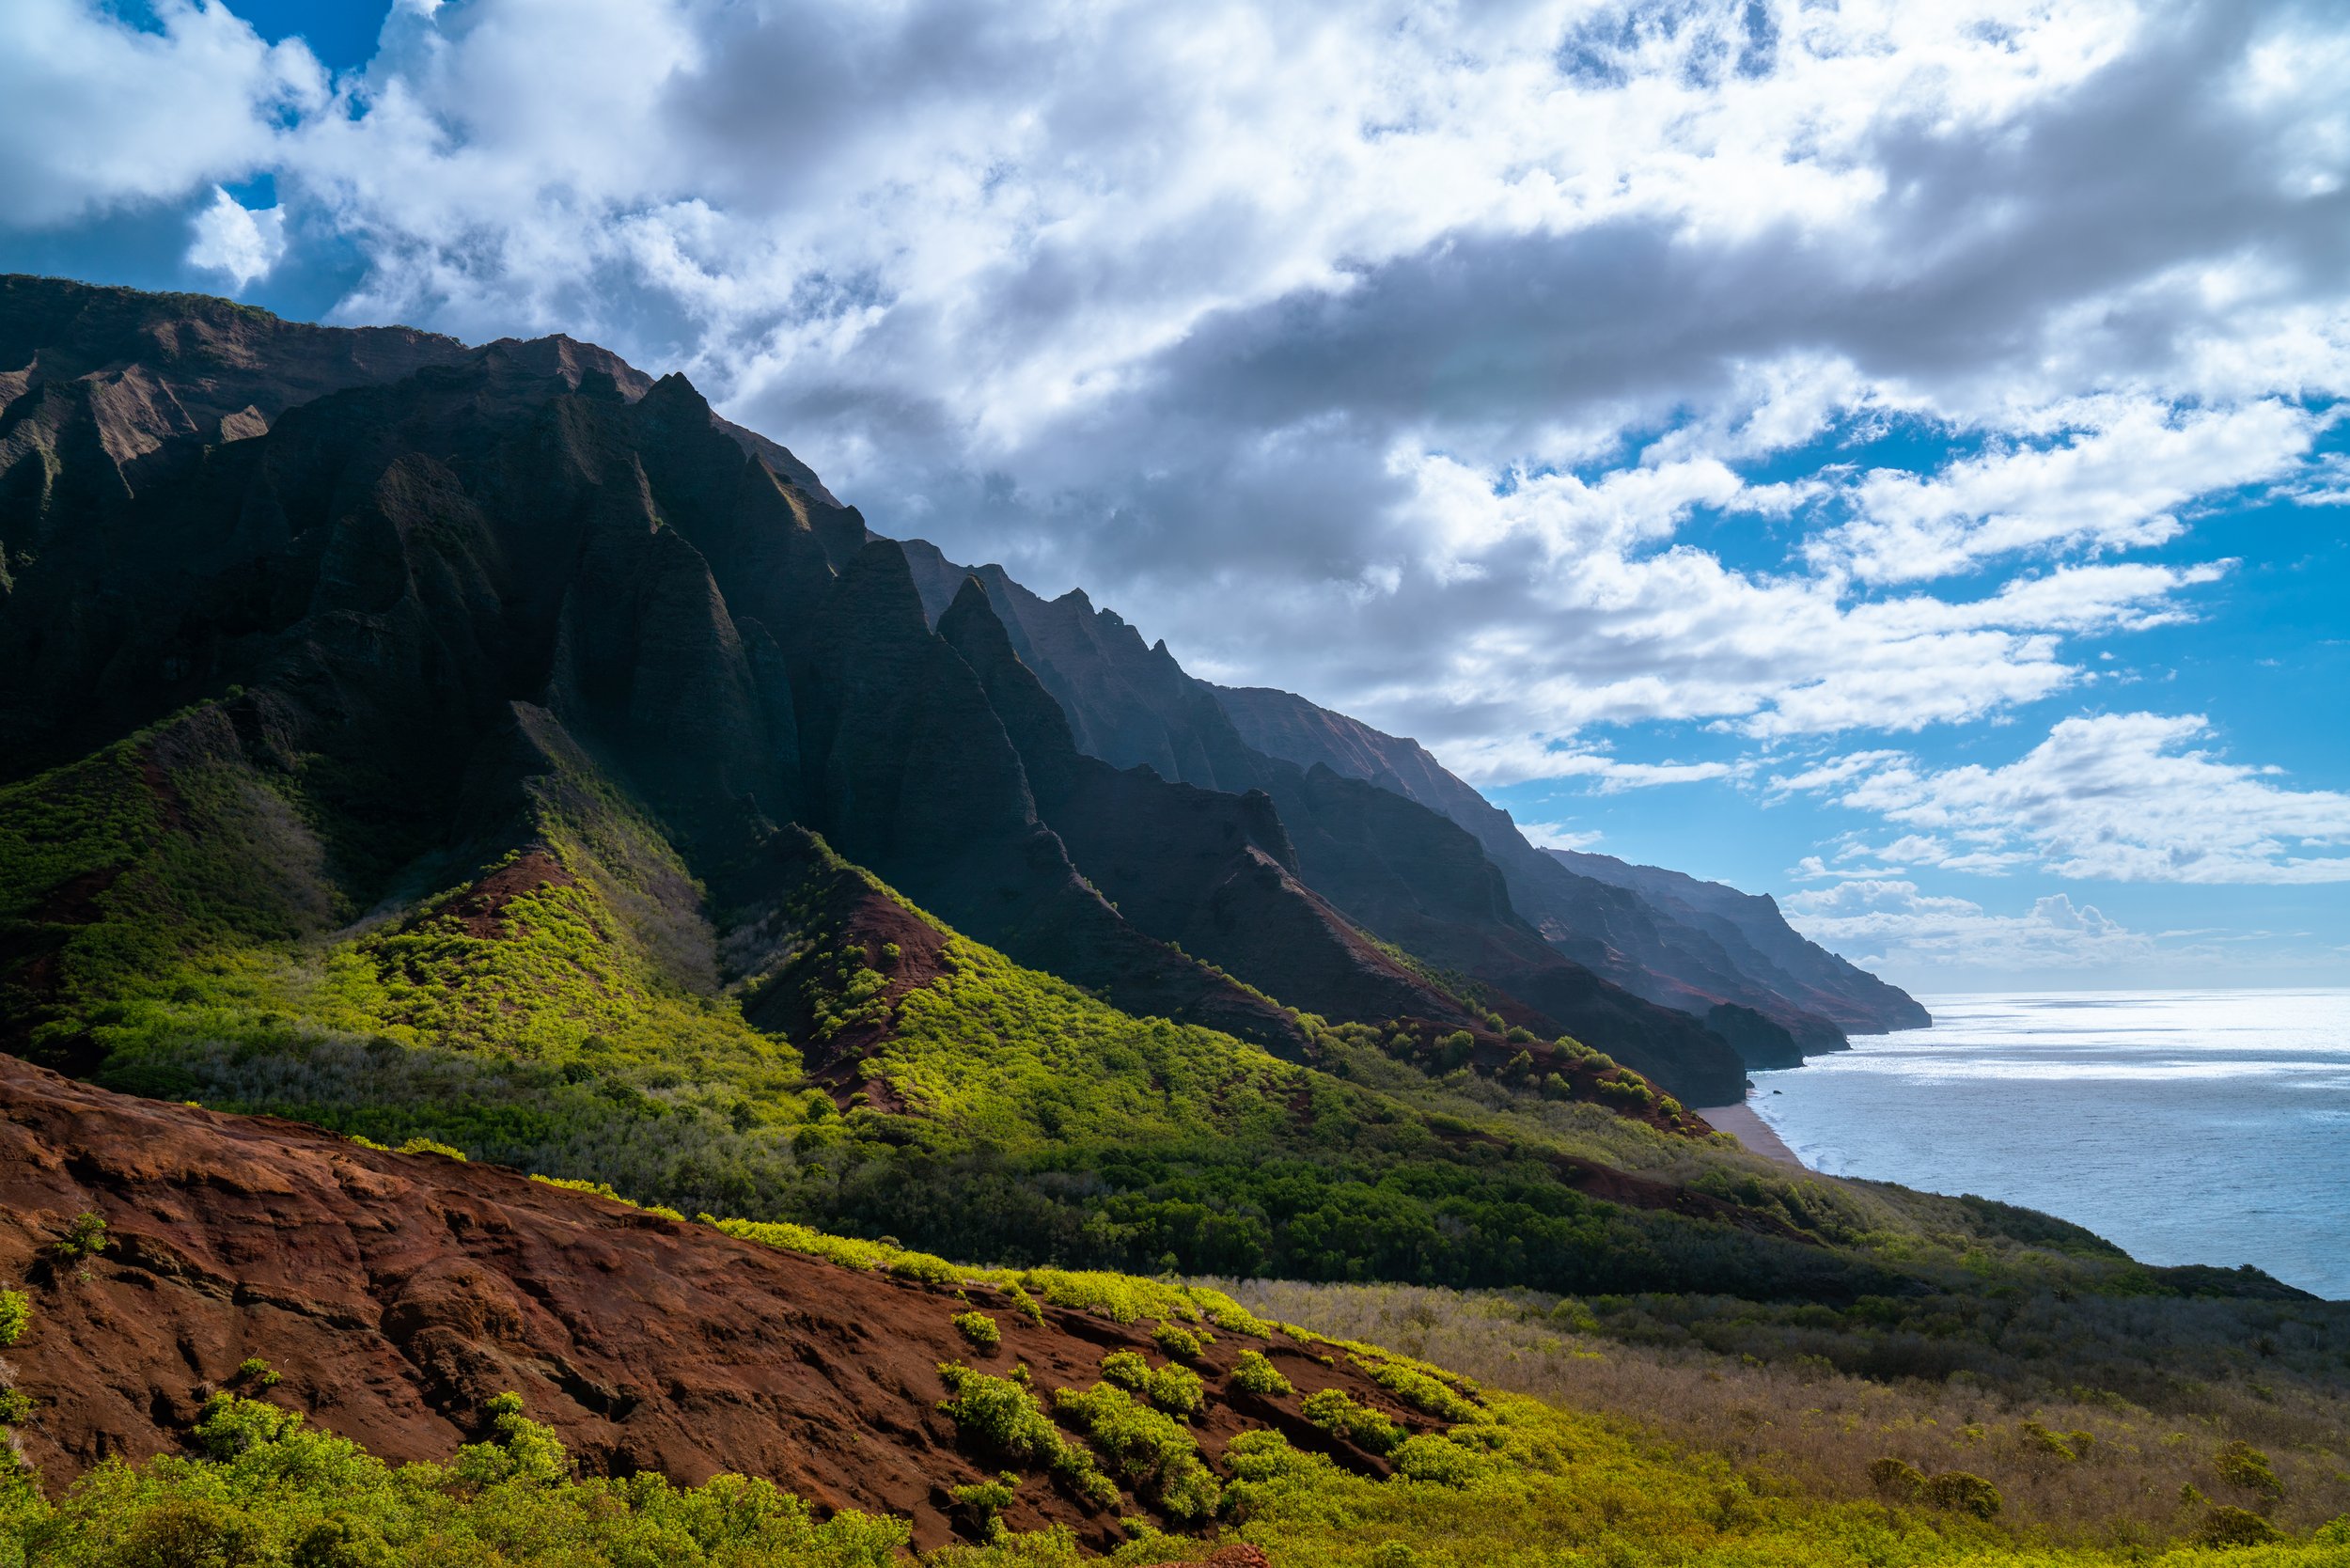
A photographer's day(s) on the Kalalau Trail

This is the story of our time on the Kalalau trail. The trail has been named one of the top backpacking trips of a lifetime as well as one of the top ten hikes in the USA.

Photography gear

Sony A7Riii with the Sony FE 24-70mm f/2.8 GM Lens, iPhone 13 pro.

Warning signs at the start of the Kalalau trail

Our journey to the Kalalau Valley began by preparing months before we arrived on the island of Kauai. Having decided we would face the risks and attempt the trail, we started on the challenge of obtaining overnight permits. This is highly competitive and is a similar experience to buying concert tickets for your favorite artist, with permits selling out in less than 10 seconds. Permits can only be bought here: https://camping.ehawaii.gov/camping/all,details,1692.html 90 days prior at midnight Hawaii time. You also need to reserve overnight parking here: https://gohaena.com/overnight-parking-park-entry/ after obtaining your hiking permit.

We completed several training hikes at home in Seattle, Washington and then having obtained our permits, gear and camping fuel (I reserved this online from Kayak Kauai) we were excited to begin the trail.

The start of the trail

We started the Kalalau trail at sunrise. The state park employee checked our permits at 6am and we were ready to begin.

Sunrise on the Kalalau trail

The first two miles of the trail were fairly straightforward. The trail is wide and well maintained and it feels like you are wandering through a spectacular botanical garden. This first section is also accessible to day hikers.

The first lookout to the Na Pali Coast

Wild yam vine

Wild orchids

One of the best things about the Kalalau trail is the abundance of fresh water and fruits. Along the way we snacked on ripe guavas which fell from the trees around us.

Enjoying red guava on the trail

The first natural rest point along the trail is Hanakapi’ai stream. It took us about an hour and a half to get to this point and we had already had a liter and a half of water each. The heat and humidity on the trail is no joke, even in the early morning. We filtered more water at the stream and continued up from Hanakapi’ai beach.

Looking down at Hanakapi’ai stream

My camera and I on the trail

Looking back at Hanakapi’ai beach

From Hanakapi’ai the trail narrows and becomes more exposed. The next four miles are long and slow going and there is no more water until the halfway point at Hanakoa. On our way back we came across a few dehydrated hikers in this section. It is important to carry at least two liters of water per person.

Hiking along the cliff towards Hanakoa

However long and strenuous this section is, we were constantly awed and distracted by the views.

Looking back towards Hanakapi’ai

Looking forwards towards Hanakoa

My partner, Himanshu, stops to admire the famous Na Pali Coast

Around mile six comes Hanakoa stream and campground. This halfway point is where we stopped for lunch and most importantly to filter more water.

Hanakoa stream

Living wall at Hanakoa

A rest at Hanakoa is quite essential as the next section of the trail include the famous Crawler’s ledge. From here the trail becomes even narrower, more eroded and generally pretty sketchy.

Two Giant Cabuya plants mark the beginning of the Crawler’s ledge section

Crawler’s ledge demands focus and patience to navigate it safely. I was glad to have good shoes and a hiking pole.

Two hikers walk the treacherous path

Staring down from Crawler’s ledge to the rocks and sea below

Having completed this section we were eager to reach the Kalalau Valley. However it was a couple more miles on the trail before we got our first view.

Our first view of the Kalalau Cathedrals

Coming over the “red hill” and seeing the Cathedrals of the Kalalau Valley was a great reward for over nine hours on the trail. From there we were motivated to conquer the last mile to the beach where we would make camp for the night.

Crossing the Kalalau stream

After ten and a half hours of strenuous hiking we reached our campsite. We showered under Kalalau falls and pitched our tent with a view of the beach.

Making dinner on Kalalau beach, Kalalau falls in the background

We spent the rest of the evening watching the sunset and walking on the beautiful beach.

Sunset, Kalalau beach

The next day we woke up for sunrise and headed back to the trail for the hike out.

Leaving Kalalau Valley

We had two gorgeous sunny days on the trail. We even saw sea turtles below us in the waves as we hiked out along the cliffs.

Overall this is an incredible hike. It is long, (22 miles) steep (over 6000ft of elevation gain) and tiring. Proper gear and preparation are important. It was so cool to see the diversity of people challenging themselves alongside us on the trail. I am so grateful to have been able to travel here and experience the beautiful Na Pali Coast.

Select prints available in my print shop.

A photographer's day at the Nisqually National Wildlife Refuge

A short guide to the beautiful Billy Frank Jr. Nisqually National Wildlife Refuge.

Gear

Sony A7Riii with the Sony FE 24-70mm f/2.8 GM Lens and the Sony FM Telephoto 100-400mm f/5.6 GM lens, iPhone 13 pro.


Less than an hour south of Seattle you can find this hidden wildlife sanctuary. The drive here alone is pretty when the sun lights up Mt Rainier in the distance.

At the parking lot you will need to pay a $3 cash entry fee using the envelopes near the visitor center. From there the refuge is exceptionally easy to explore with miles of boardwalks and flat gravel trails.

Twin Barns Loop trail

Lupines

An empty robin’s egg

We visited just after sunrise and were rewarded with the sounds of hundreds of songbirds and the sun peaking through the trees.

Brown Creeper

Sometimes the prettiest birds are the tiniest…

Rufous Hummingbird

We also saw deer and small mammals going about their daily routines.

Beyond the forest you can continue out onto marshland where we saw an abundance of beautiful Great Blue Herons.

Great Blue Herons

This refuge is a beautiful, serene place to explore. I will certainly be back in the winter when the raptors return.

A photographer's day in San Francisco

Here is my guide to the perfect sunny spring day in San Francisco!

Gear

Sony A7Riii with the Sony FE 24-70mm f/2.8 GM Lens and the Sony FM Telephoto 100-400mm f/5.6 GM lens, iPhone 12 pro.

You could bring a tripod for the sunrise but with the Sony sensor I feel it is not needed.

Locations visited:

  1. Battery Spencer

  2. Kirby Cove

  3. Conservatory of Flowers

  4. San Francisco Botanic Garden

  5. Outer Richmond Neighborhood

  6. Ocean Beach

  7. Lands End Trail

  8. Palace of Fine Arts

  9. Crissy Field

Itinerary

Start your day with the sunrise at Battery Spencer, a concrete battery with amazing views in every direction. It’s only a 20 minute Uber ride from downtown. Before you leave, be sure to download a map of the surrounding area as service is spotty in places.

Sunrise views of the Golden Gate Bridge from Battery Spencer

ISO 640 - 29mm - f/10 - 1/125 sec

Silhouettes at sunrise

ISO 125 - 70mm - f/11 - 1/125 sec

View towards Kirby Cove from Battery Spencer

ISO 640 - 55mm - f/10 - 1/125 sec

From the battery, walk one mile down to the secluded Kirby Cove. The road leads through wildflower meadows and forests so keep an eye out for deer, lizards, woodpeckers and hummingbirds.

Trail to Kirby Cove

Costa’s hummingbird

ISO 500 - 400mm - f/5.6 - 1/800 sec

Calla lilies

ISO 100 - 70mm - f/4.0 - 1/800 sec

Enjoy the views from the cove. Take a walk down the beach and take advantage of the rest of the early morning light. You may very well have the beach all to yourself at this hour.

Sun peaking over the hills at Kirby Cove

ISO 100 - 39mm - f/22 - 1/250 sec

Next head back up the hill to the main road and catch a ride back over the bridge. Make your way to Golden Gate Park and a stop at the Conservatory of Flowers.

Conservatory of Flowers

To me this is an ideal place to photograph at mid day as the harsh sunlight will be diffused through the opaque glass panes creating lovely conditions to photograph the interior of the greenhouse.

Water lily in full bloom

ISO 100 - 70mm - f/2.8 - 1/800 sec

Greenhouse interior

ISO 100 - 39mm - f/2.8 - 1/500 sec

Golden Gate Park is full of great things to do. After the Conservatory I suggest walking through the park to the San Francisco Botanical Garden for a stroll in the shade. My visit in March was made lovelier by the blooming magnolias.

Magnolia blossoms

ISO 100 - 70mm - f/5.0 - 1/1250 sec

Cherry blossoms

ISO 100 - 70mm - f/3.5 - 1/400 sec

From the park make your way to the Outer Richmond neighborhood for some lunch. Although the architecture here is not as famous as the San Francisco Victorian style homes you can still see some very pretty pastel rows of buildings in this area and dabble in some street photography.

“Keep your paws off my lawn!”

ISO 100 - 48mm - f/3.5 - 1/4000 sec

After lunch I walked down towards Ocean Beach where I spent some time people watching. Then I wandered towards the rock formations at the end of the beach to photograph the dramatic breaking waves and seabirds. I was exceptionally glad to have my telephoto lens here as it allowed me to photograph the waves while keeping myself and my gear safe and dry.

Ocean Beach

ISO 100 - 70mm - f/7.1 - 1/1600 sec

A beach day with pride

ISO 100 - 300mm - f/7.1 - 1/1600 sec

Cormorant dodging waves
ISO 100 - 100mm - f/7.1 - 1/1250 sec

At the end of Ocean Beach a short walk up the road leads you to the Lands End Trail, a fantastic but quite busy network of trails with great views. I walked from Ocean Beach all the way to Eagle Point and it took about an hour with plenty of stops. Definitely bring some extra layers for this walk as it was quite cold and very windy.

Sutro Baths ruins

ISO 100 - 24mm - f/7.1 - 1/640 sec

View through the trees from the Lands End trail

ISO 400 - 70mm - f/10 - 1/125 sec

From Eagle Point it’s about 30 minutes by bus or 10 minutes by car to the Palace of Fine Arts. I visited right as golden hour was beginning. At that time this would make a lovely spot for some portrait photography. As I was traveling alone I continued on by foot to Crissy Field Marsh for the sunset and some birdwatching.

View from Crissy Field at Sunset

ISO 100 - 121mm - f/5.0 - 1/1600 sec

And that’s the day! This was a full 12 hour day in San Francisco but really gives you the opportunity to take so many interesting photographs of nature, landscapes, wildlife, macro scenes, architecture, people and of course the famous bridge.

I hope you enjoyed my guide to San Francisco. Stay tuned for more and leave any suggestions for me in the comments below! Thank you for reading.

Introduction

For myself and my work, travel provides the best possible inspiration. I am constantly planning the next trip, researching new destinations and preparing the right gear. However in this process I found a niche that has perhaps not yet been filled. How do you plan a day in a place you’ve never been to that is more suitable for photography rather than for simply ticking off popular sites? I am always searching for the right itinerary that prioritizes light, travel by foot and access to interesting subjects. I want this blog to be a place where I share the details of my own research and experience along side the photographic evidence of a wonderful trip. My hope is that you will be inspired to have your own photographer’s day out.